Well, someone said "just publish when you can..." and here I am! Its been a few months of hard work and not a lot of art! Work has been challenging and I do love a challenge! Crazy as it may seem- just a few months after I started this new job and opportunity came up to manage a builder account. The designer who held the account was retiring and they asked me to think about taking it over. "Think it over? Done. I'm in." So at one point I was working my regular responsibilities, training and teaching. When will I ever learn? Probably never. I figured out a long time ago not to say no to opportunity. And- who needs to relax and just breathe anyways?
So these cute little boxes are the only thing I've done since I last posted. Totally missed the challenge date for ADQ's bride challenge and I am very sad about that. But...it is what it is- she is still waiting for me.

Remember those blue jewelry boxes I made for the girls? These are the same heart shaped paper boxes from Hobby Lobby. They are for some friends of my girls who kinda feel like they should just be part of our family. Once, when we asked if Star could come over for a playdate, we were asked in return- could her older sister come too? I was a little taken aback because I think we all know that children in multitudes scare me. Was I ever glad I said yes. The older sister was so quiet and well mannered. Now they always come as a pair- that's how we want it!

I'm telling you, folks, if you ever want a no stress project this is it! Its decoupage. How easy is it to tear up peices of paper and glue them on to a surface? Just don't put any rules on this project- it all works. I used some pretty wrapping paper that I have from a dollar store, a pretty printed napkin and tissue paper. Any knob will do but you will probably have to use a shorter screw as you are not going through a wooden door.

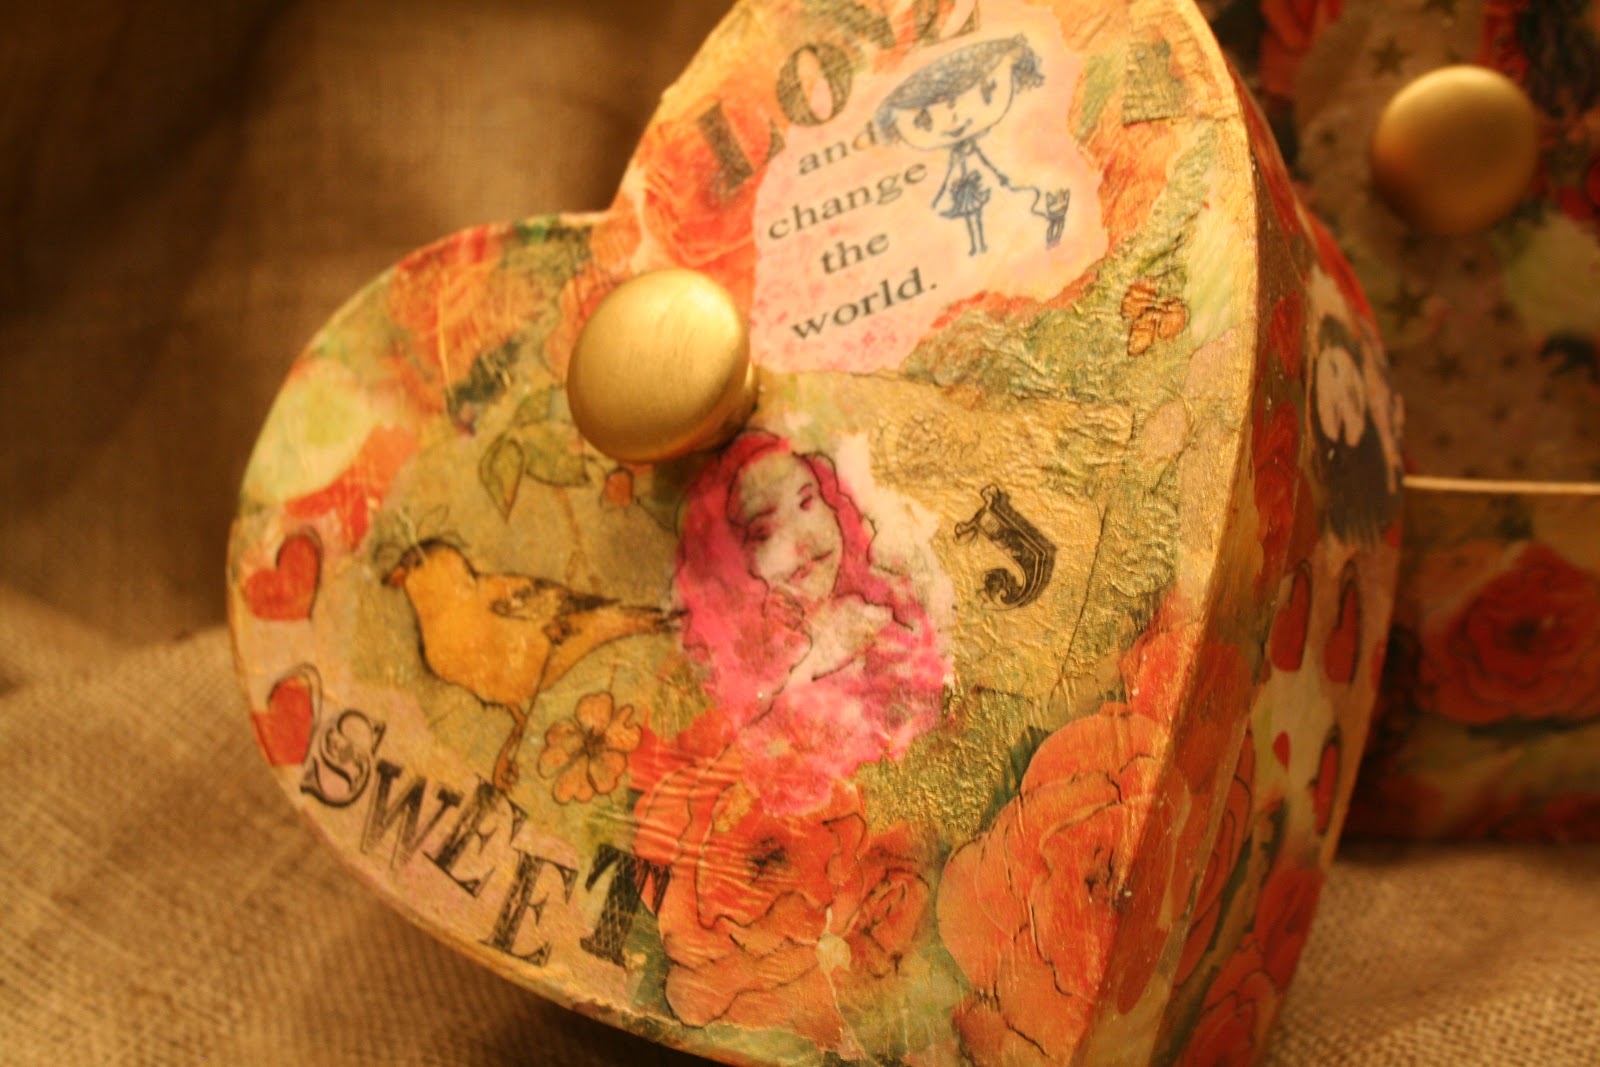
See the yellow bird? From the printed napkin! See the girl? That's Janaya. I took a photo of her into a program that let me play around with the color. Then I did the ole transfer technique wherein I coated the top with gesso, let it dry and then rubbed the paper off the back. Its somewhat sheer and lets background color come through plus just not as thick on the surface of the project. I tore the edges of everything I used vs. cutting because I think this looks nicer and is also thinner on the surface.
 This is Star's box. Hence a quick shopping trip for tissue paper with stars. Naturally sheer and thin, I thought the tissue paper looked fantastic. I had a little fun with her hair- hope she doesn't mind! The wrapping paper- Well, I used some marker on it, as well, to pull the black from the lettering and her hair through out the composition.
Lastly the lettering is plain old rub on transfers. I was not about to try to align them perfectly! I like this look better, anyhow. I top coated with one more layer of gesso and then sprayed it with a matte varnish to take the gloss down and make it less tacky. Because I am super smart...OK, I worry about every little thing....I used a candle to wax where the lid meets the box. Adding paper and gesso thickens things up and I didn't want the boxes to get wrecked by careless youngsters so I made it so the top slips on more easily.

The very last thing....fill them with things that girls like- nail polish, eye shadow, candy, etc. A pretty bow tied around that knob is all they need. Now, they just need to get delivered before...well...Valentines Day??? Hey! I'm trying!
Hope you all had a wonderful Christmas and Happy New Year to you!
Great job...love those boxes and so will the girls. Hope you had a good Christmas...wishing lots of good health and happiness for 2013 :)
ReplyDeleteLove the boxes, sorry that you did not get the bride in on time at ADQ, she was a cover gal. Hope you had an awesome Christmas and New years.
ReplyDelete